Thursday, December 6, 2018

Hobonichi cover

CORK HOBONICHI COVER

Hobonichi covers are super easy to make when you use cork, suede or leather, any fabric that doesn't fray on raw edges. This style is particular clever because is utilizes a pen holder to keep it closed.

Supplies:
1/4 yard cork, suede or leather
a sewing machine
ruler

Steps:

1. Cut the following rectangles:

Cover - 9.5" x 6 1/4" (cut 1)
Inner pockets -3"x 6 1/4" (cut 2)
Pen holders - 3/4"x3 1/4" (cut 2)

Now that you have 5 rectangles, you are ready to sew them together.

2. Lay the cover with the wrong side up.
3. Fold one pen holder in half and lay it about 1.5 inches from the top edge.
4. Place one inner pocket on top (right side up), lining up the edges as shown.

5. Sew all around the edge of the inner pocket.


Repeat with other side, making sure to move the second pen holder down just below the first one. That's all there is too it. As with all sewing, practice makes perfect, so make a few and watch how they get better each time. 


Friday, November 27, 2015

Plaid Pillow


Craft Show Plaid Pillows


If you have been lucky enough to find yourself at a craft show lately, you have probably seen these cute plaid pillows. They are a super easy DIY project and can be adapted to any season or occasion.

Here’s what you are going to need:
  •      22” pillowform
  •      3/4 yard plaid fabric
  •      40” pompom trim
  •      needle and tread

Step 1 – Choose an image for your pillow. I found mine here. Print the image onto your canvas using directions on package. It think that an 8.5x11 image works well on this size fabric.

Step 2– Cut 2 squares from your plaid fabric. They need to be the same dimensions as your pillow. In this case, 2- 22x22” squares. 

Step 3- Applique
Center your image on one of the squares. This will now be the front of your pillow. I recommend using a ruler to make sure that it is centered. Silhouette brand has a sticky back which is great for positioning it on the fabric. If your canvas is not sticky, you may want to use a fabric glue stick, or a basting stitch to hold your image in place while you sew on the trim.


Step 4- Add trim

I do not pin my trim down as I find that the pompoms lay better if you guide the tape as you sew. With matching thread, sew your trim on top of the canvas image to frame it.


Step 5 – Sew 
Place the back of the pillow on top of your image and trim with right sides together. Sew all of the way around with a 1/2" seam allowance. Be sure to leave a 6” hole centered on the bottom edge. This is where you will insert your pillow and hand stitch closed. 

Step 6- Enjoy!

Turn your pillow cover right side out, stuff your pillowform into the opening. Hand stitch using a ladder stitch (there are lots of good YouTube tutorials for this).


Thursday, August 20, 2015

Summer Lovin'


This Summer flew by in a whirl of skirts, headbands, and floor poufs! It has been a blast. Check back for a headband tutorial to commemorate one of the most popular little projects of the Summer.

Thursday, November 20, 2014

Sew Merry

Happy Holidays


It was really starting to feel Christmasy around here with that cold front last week, but even though its warming up, festive reds and green a popping up everywhere, including Sew. Two of my most popular classes at the moment are infinity scarves and Christmas stockings. Recent parties have also included a French Beret class and a cupcake decorating class. It is so great to have clients who are always providing me with fresh ideas and may it long continue! As a school teacher my favorite phrase was, "I have an idea!" and I still love it as Head Sewista.

Since the holidays will probably make a nice jingly whooshing sound as they fly by, I am looking ahead to some new classes for 2015. I know that I will include more garment making classes. They are one of my most requested classes and generally done in private lessons at the moment. 

Also expect to see a few new styles of bags as they are one of my favorite things to make. I will also be expanding on the home decor classes - yes, I am talking floor poufs.

This will probably be all of the blogging I do in 2014, but who knows, I am get really festive and post a new tutorial soon!

I will leave you with a few pics from recent Sew festivities.

Thanks for reading, happy holidays, and I'll see you in the new year!


Thursday, August 28, 2014

Throw Pillow Tutorial


Hello sewers, sewists and sewistas!

Let's celebrate the 3 day weekend with a quick throw pillow tutorial, shall we? Throw pillows are one of my most popular classes at Sew because they are quick, easy and a great way to add a little fashion to any room. I hope you give it a try and add some of your own touches like brooches, buttons, printed canvas or what ever else inspires you.


Here is what you are going to need: (for an 18” pillow)

  • 18” Pillow form
  • ½ yard cotton, canvas, outdoor or denim fabric
  • 20” all purpose zipper


Step 1- cut 2 18”x18” squares


Step 2- zipper installation


Place one piece of your fabric face up, and zipper pull down

Align raw edge and sew using your zipper foot and a stitch length of 3. 


Repeat with other side, making sure to keep right sides together. 
Make sure to test your zipper to make sure it slides freely. 


Lastly, secure the fabric on each side of the zipper. 

I switch to my regular sewing foot and keep the left side of the foot on the zipper, this helps me make a little stitch about 1/8 of an inch from the zipper to ensure the the fabric won't roll in the zipper's path. Repeat on each side, retest your zip and pat yourself on the back for installing a zipper!


Step 3 - Sew up the sides

You are almost done, and it is very important to unzip your zipper about 3/4 of the way right now. 


Place right sides together and sew a 1/2" seam allowance on the 3 open sides.

Clip your top corners

Turn it inside out and place your pillow form inside and Viola! Your pillow is complete.

Friday, February 14, 2014

A love letter to my supporters and heros


In honor of Valentine's Day, I want to send a little love to a few of the people who have supported me and inspired me in this awesome journey that is Sew! If we were in Elementary, this is what the inside of your card would say:

Chris - You are all I ever wanted, all I ever needed and my life would suck without you!

Terri - You are my Godmother of Hustle

Travis Weaver - you showed me that you can build a business on hard work and providing quality product - no paid advertising necessary.

Sew Dayton, Tinderbox, Rachel's Plan Bee GuerraGirl -You make creativity and the handmade sexy!

Stronge Designs - You are a talented graphic designer and I can't wait to see my Stronge flyer!.

Jake, Jenny, Jamie - you are awesome for getting Sew off the ground and keeping it flying.

Friends, family, and everyone who has brightened my doorstep. I love you all!


Friday, August 30, 2013

Gameday dress

Now, last but not least, the gameday dress as seen on Sally's Shabby Chic.
You will need:

  • a tshirt
  • 1 1/2 yards of fabric 
  • ribbon or wide belt
  • scissors
  • pins
  • chalk or marker
  • yardstick
Step 1
Put your tshirt on and mark your waist. Lay the shirt out and use a yardstick to mark a line 1/2 an inch below your waistline. Fearlessly cut your shirt along this line. It's for the better, I promise.

Step 2 
Lay your skirt fabric out with the wrong sides out, the right sides together facing each other. There are two ways to determine the skirt measurments. The easiest is to lay one of your skirts on top of you fabric and outline it 1/2 an inch bigger than your skirt. Don't make the waist small, it has to go on over your head. Just make your outline straight up from the biggest part of the skirt, also known as, the hips. 
The Math
If you don't have a skirt to use as a pattern, here is a simple way to determine the size of your skirt.
Hip measurement divided by 2 + 5 . So if your hips are 36 inches, that would be 36/2=18 + 5 = 23.
Each skirt piece needs to be 23 inches wide by roughly 21 inches long (this varies according to your height)
Make your front and back skirt pieces rectangles measuring  23 in. wide and 21 in. long.

Step 3
Cut your skirt out and sew your sides using a 1/2 inch seam allowance.

Step 4
Now it is time to attach the shirt to the skirt. Laying this out can be a bit confusing, but I guarantee you this is right. With your skirt still inside out and the shirt right side out put the tee down inside the skirt.

If you could see an X-ray, the shirt would look like this inside the skirt

Step 5
Match up the sides of the shirt and skirt and pin. Do the same to the middle of the front and back. Then pin half way between the 4 pins you already placed

Step 6
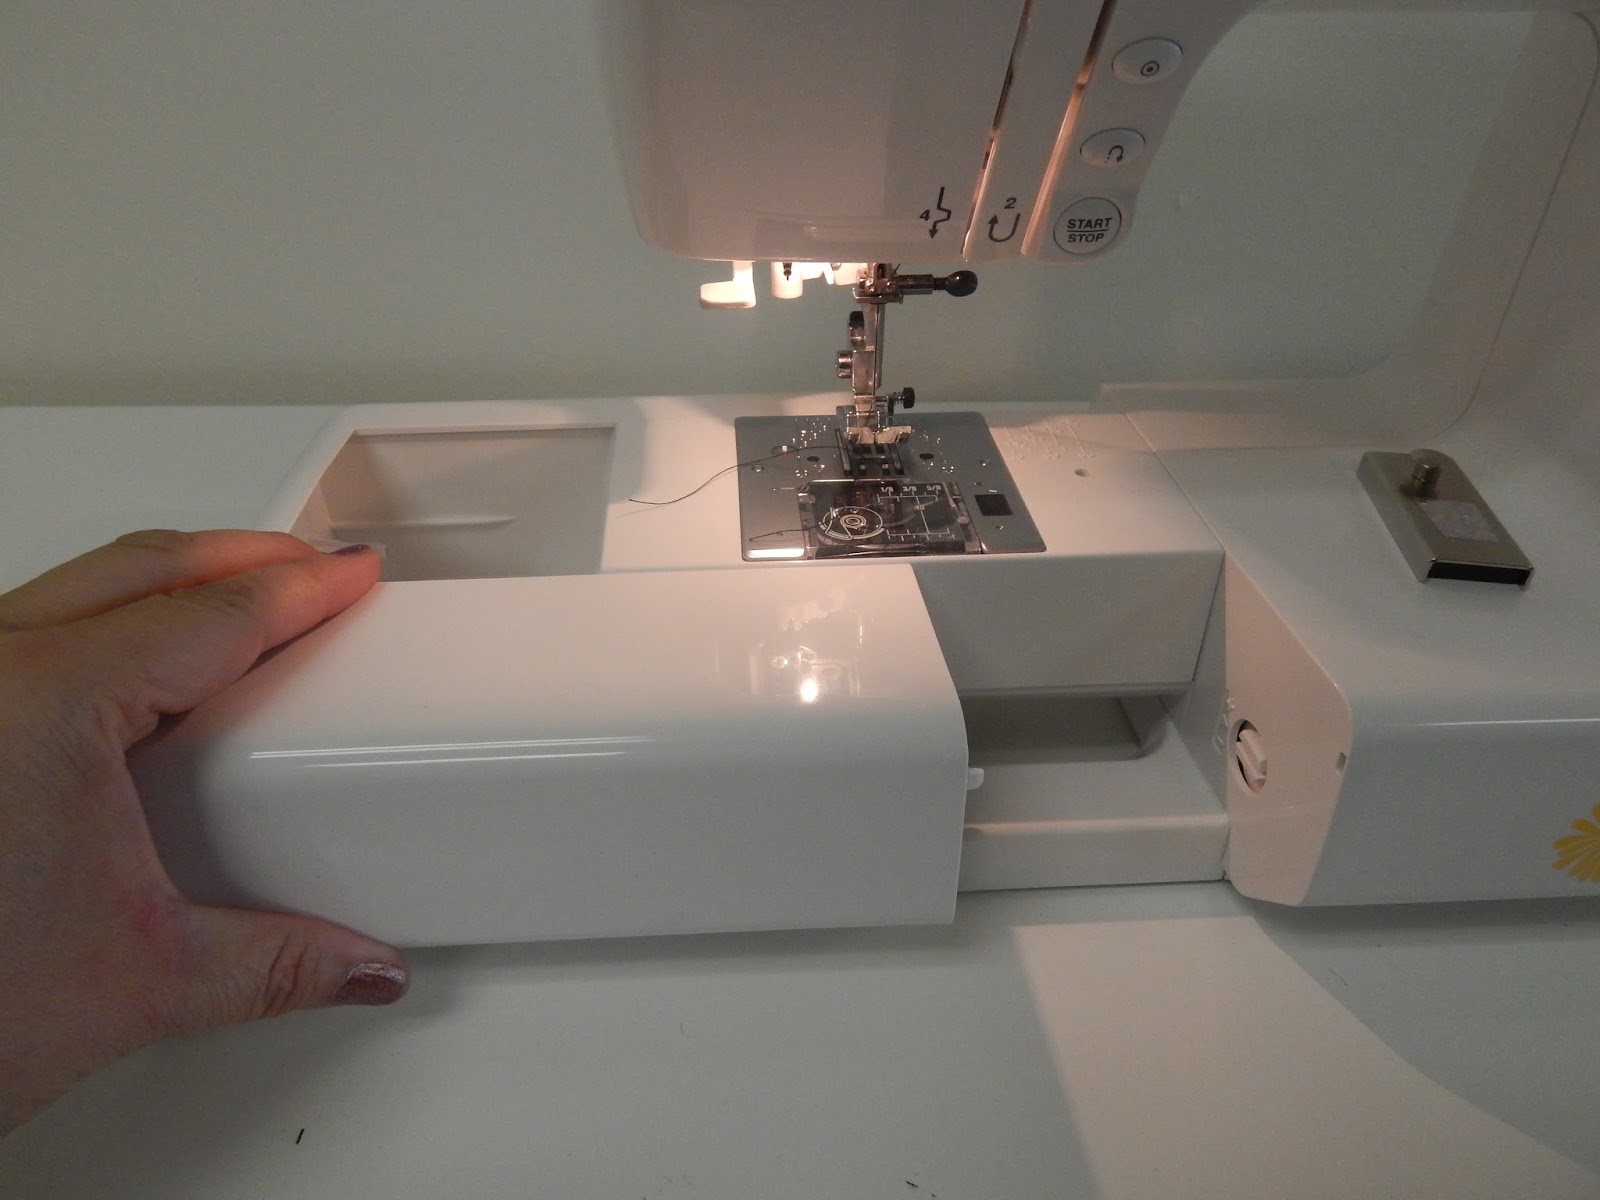
Take it to the machine and sew using a 1/2 inch seam allowance. It is easier if you take the accessory box off when you sew in circles. I've never seen a machine that doesn't do this, so yours probably has this feature. 

Step 7
Almost done! Just the bottom hem left. Now with your dress inside out, turn up bottom 1/2 and inch and iron. Do this one more time to hide the raw edge.

Step 8
Sew that up and your dress is complete! Congrats. Now just add a belt or ribbon and you are ready to show your team spirit in style. This also looks cute if your convert the shirt to a tube top before you get started. See tutorial below. 

Would you like some help with your dress or maybe you want to bring your girlfriends in for a fun afternoon. email me at yolanda@sewdesignstudio.com and we can set up a time. Feel free to bring food and drinks and make a party out of it.

Hope to see you!

Pinterest


Notes from Sew School All rights reserved © 2013

I am a HowJoyful Design by Joy Kelley